
Machine Disassembly: My top 10 tips and two important principles
Let’s turn you into a machinery teardown Jedi, the better for those of you with a garage or workshop to repair appliances and equipment efficiently and cost effectively - while keeping all your hair…


In this report, I'm not going to tell you how to do this or that - it's just a whole bunch of tips.
I see all these people doing assembly and disassembly kind of stuff and yet they've never had their hands on the tools in an industrial setting and thus they do stuff up many of the basics.
My plan here is to give you 10 or 12 tips and techniques that should make your whole tearing down project much easier, but just as importantly - getting it back together again. Bonus points for having it function as well, which is actually a lot harder. We're going to line those two objectives up.
We're going to get something apart, figure out what's wrong with it, and then put it bac together. It’s very satisfying.
Going through this process never having had my linisher apart before these things are always a journey of discovery. It's like exploring the great unknown, no matter how many times you've done something similar in the past.
This guide could be useful to you because you might have a bearing that's seized up in your trailer, or you might just want to service those things but you haven't done it before, you might have some machinery like a lawnmower that's not working, perhaps an exhaust manifold that's cracked on a piece of yard equipment and you've got to get it apart in order to figure out what's wrong with it and then get it back together.
It’s a good idea to be in the right headspace for before you get your hands on the tools, so here are my two guiding mindset principles to apply before doing any work:
DON’T DIE
The mindset here is if occupational health and safety was explained simply and effectively to normal people. No clever wordplay, just two simple, concise words. Apply ‘Don’t Die’ to every action or idea you have in your FatCave.
OH&S is managed badly because people tend to think that a bright orange vest is a safe system of work, and it's really not. The thing you've got to do is remind yourself that everything you do in a place like this, every machine you've got, every substance you interact with, every tool you pick up - be it a hand tool or a power tool - its main objective is to kill you.
Your main objective is: don't let it.
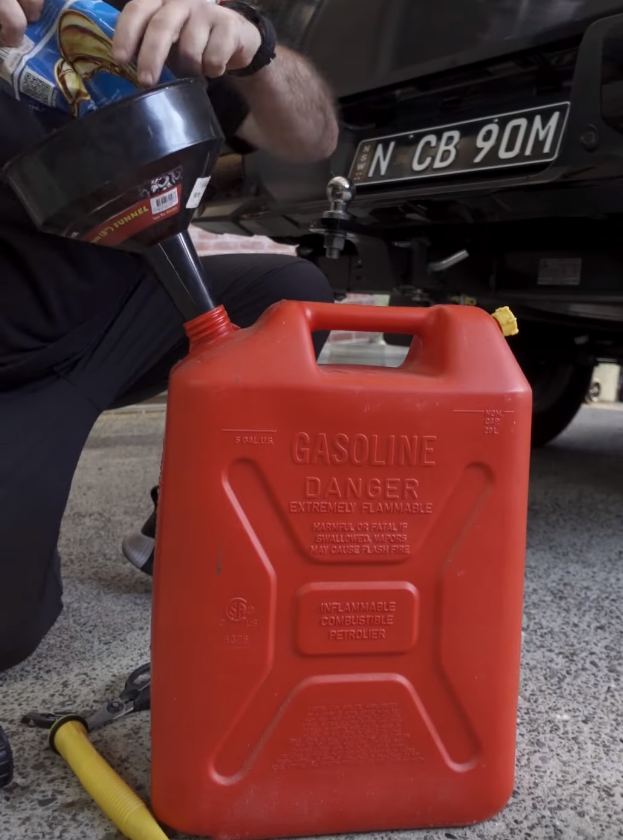
Every chemical that is flammable wants to put you in the burns unit, every piece of equipment powered by 240 volt electricity wants to electrocute you. Your job is to not let that stuff happen.
This is not as simple as just wearing your safety specs and hoping for the best. Take 30 seconds and assess, have a look around and do a quick flammables check before making sparks; confirm that your big fire extinguisher is in the corner ready to go. If you don't want to breathe toxic dust or smoke, have a system in place that is not just your respirator - wear a mask to protect your lungs but also put a fan in the corner and open the door, so you've got quasi-laminar flow out the room.
Everything wants to put you in hospital. Stay out of hospital.
DISARM THE BOMB
If you're going to work on a bomb, disarm it by taking the detonator out.

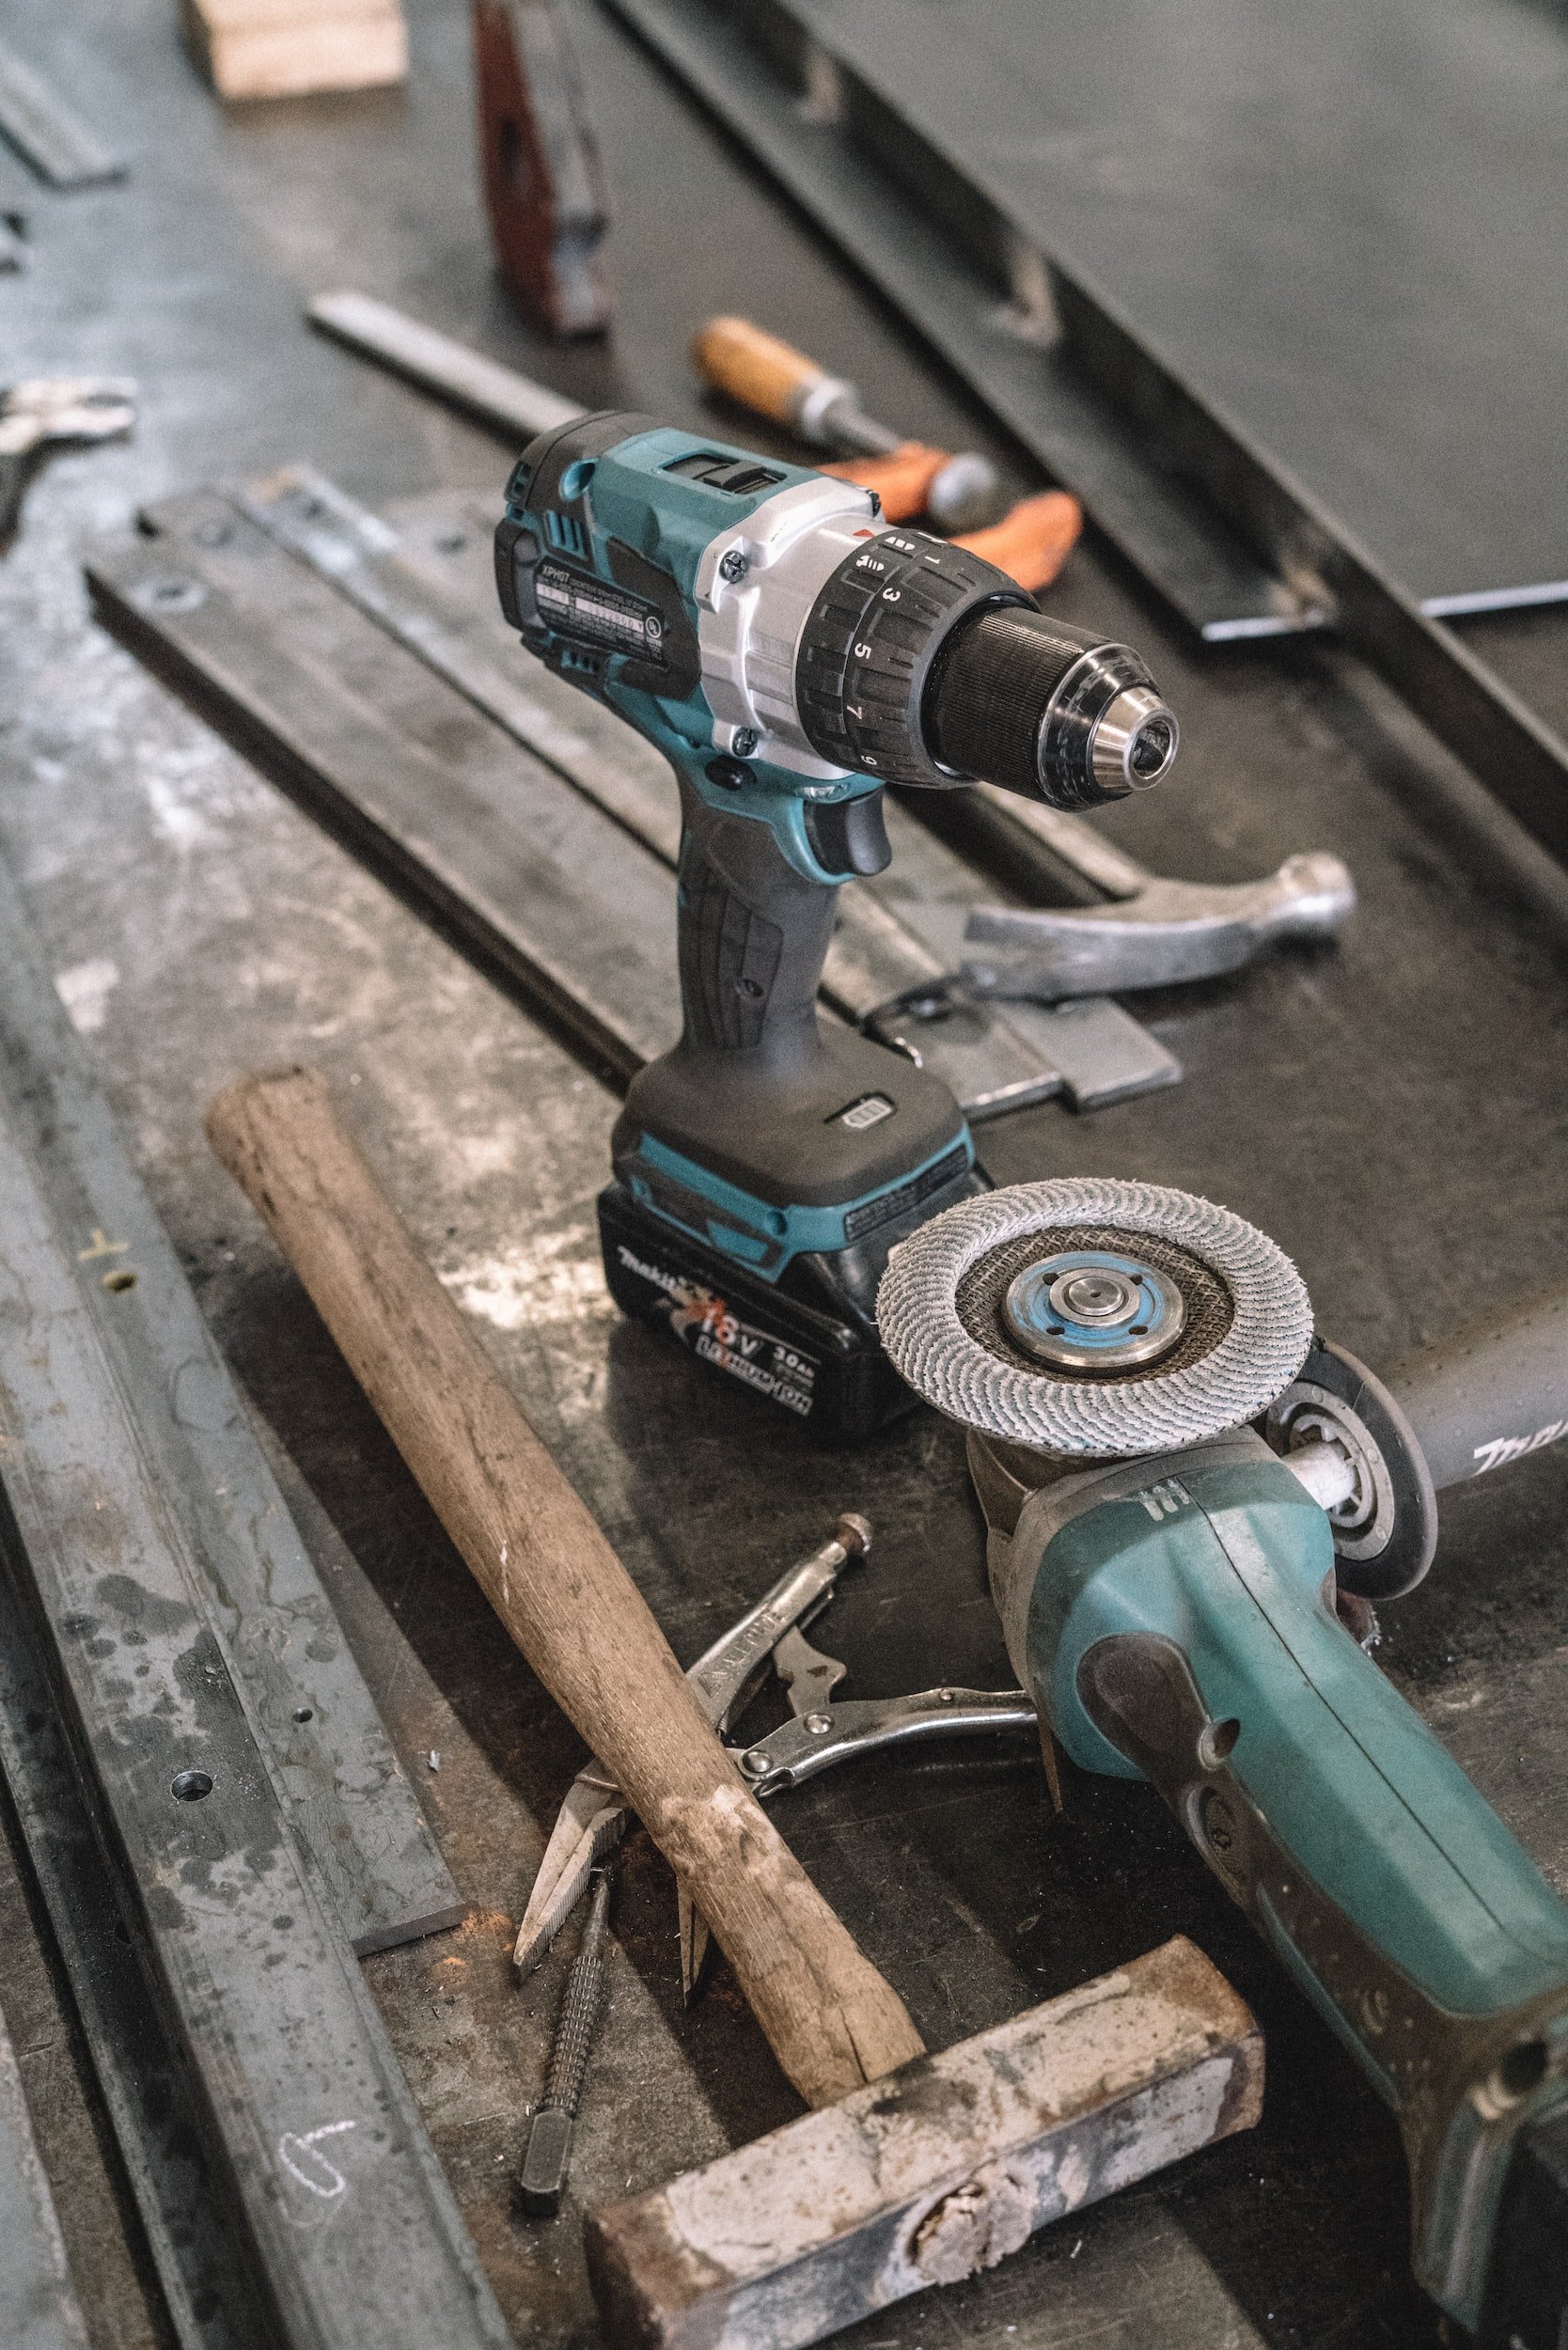
In the case of powertools and hazardous equipment in your workshop or garage, disconnect the power source. Pull out the plug, remove the battery. Render the weapon inoperable.
Don’t cross your fingers that your toddler won’t pick up your belt sander or can’t reach the angle grinder. Disarm the bomb. It’s not good enough either to presume you unplugged the machine before you begin disassembly or repairs. Visually confirm it to yourself, that way you don’t fabricate some image in your mind of you disconnecting it, when in fact it’s just one phillips head screwdriver contact away from killing you.
Also, there are some devices that are not energised simply and only by the plug going into the wall. These tend to be simple machines. Some devices remain energized even if you do remove the wall plug, and they would include things like inverter type welder, which tend to have a lot of capacitors inside them. Those capacitors have the potential to remain energized well after the plug is removed.
So be a bit cautious working on something like that has in-built secondary energy storage devices in addition to the mains. But for a simple device that is just a motor that turns a spindle - disarm the bomb.
If you're working on an internal combustion device like a mower or a chainsaw, then identify the spark plug and take the freaking lead off the spark plug and tape it or cable tie it away so that it can't just fall back into its natural position and generate a spark at the exact wrong moment. You don't want your subsequent manipulation of anything to involve it starting and then there's just floor full of fingertips.
How are you going to call an ambulance like that?

Mowing grass might not seem a hazardous undertaking on the surface, but one casually cognitive slip-up could put you in the ED.
Apply these principles to everything in your workshop, such as:
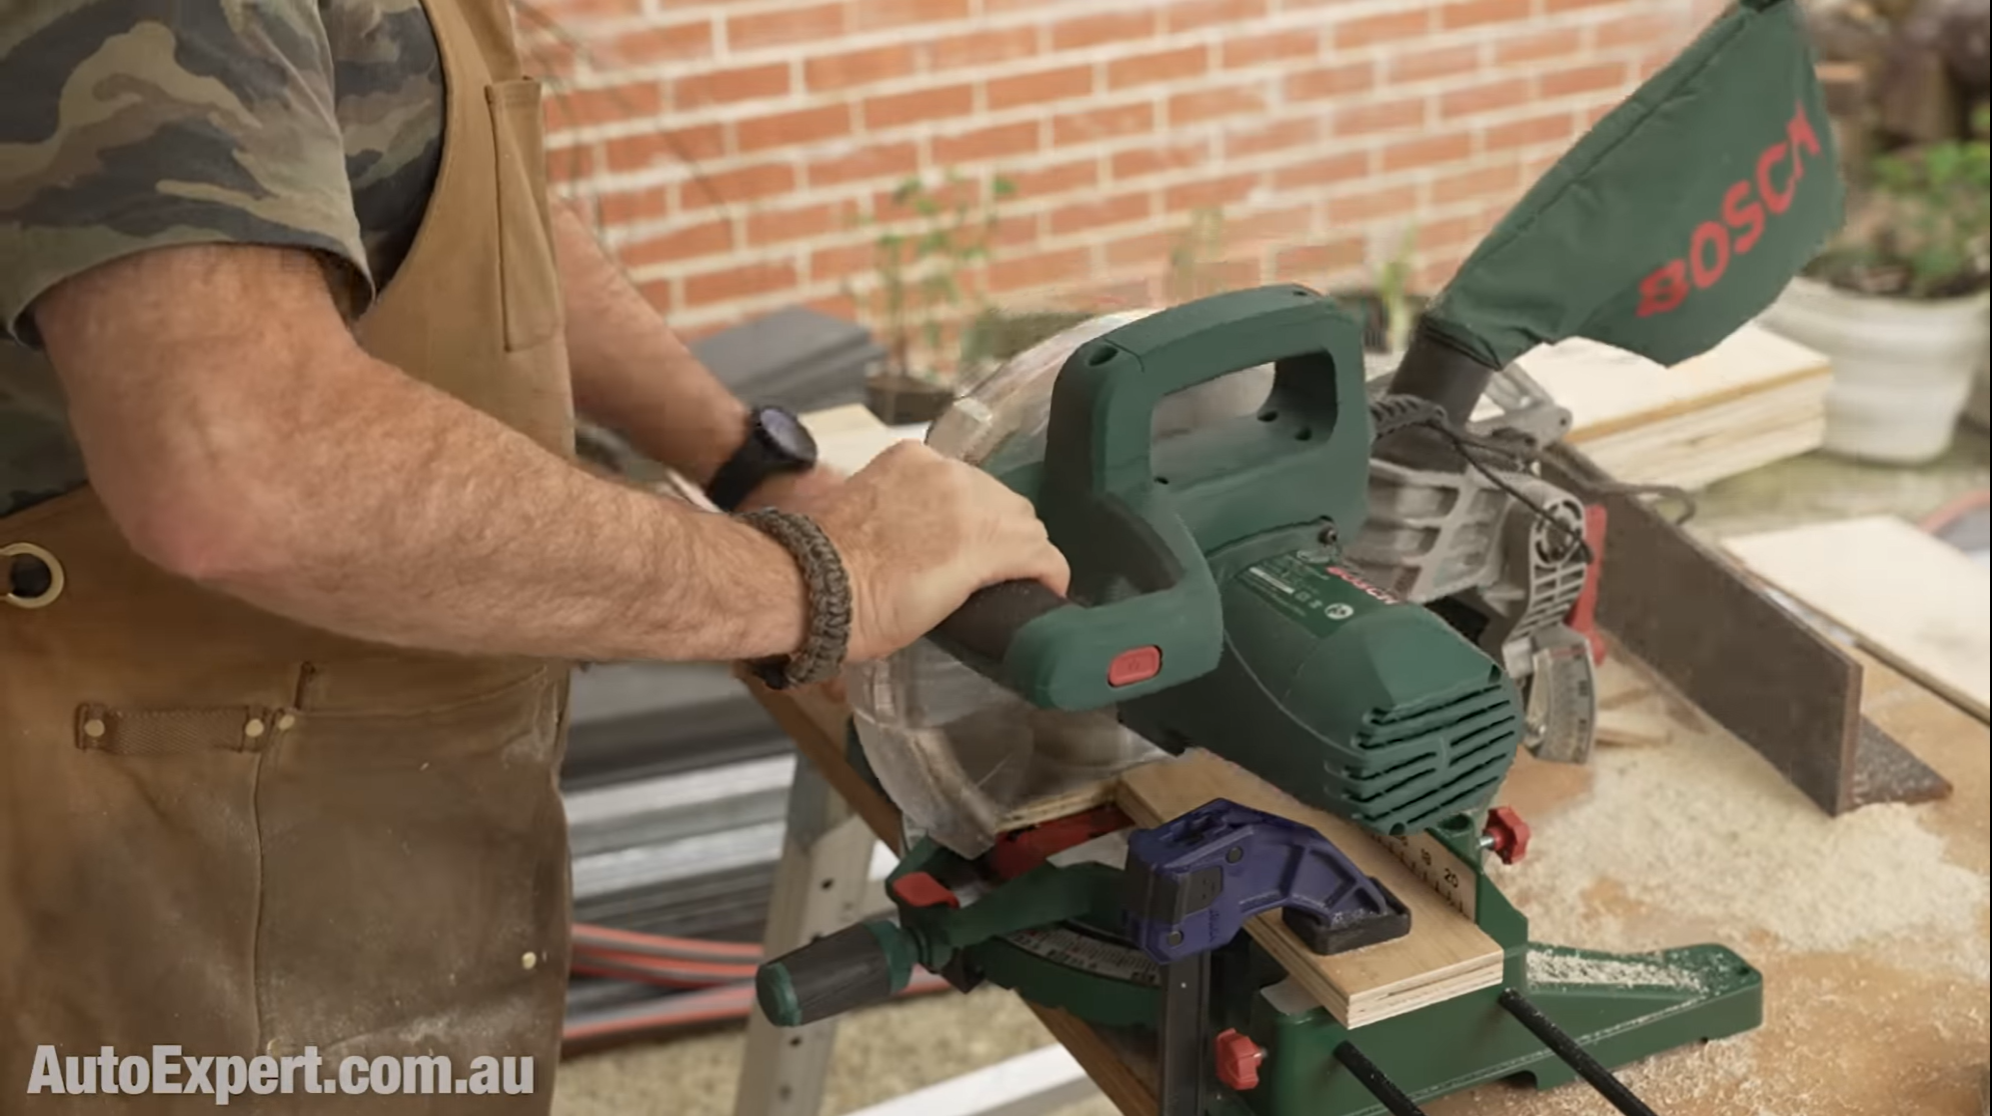
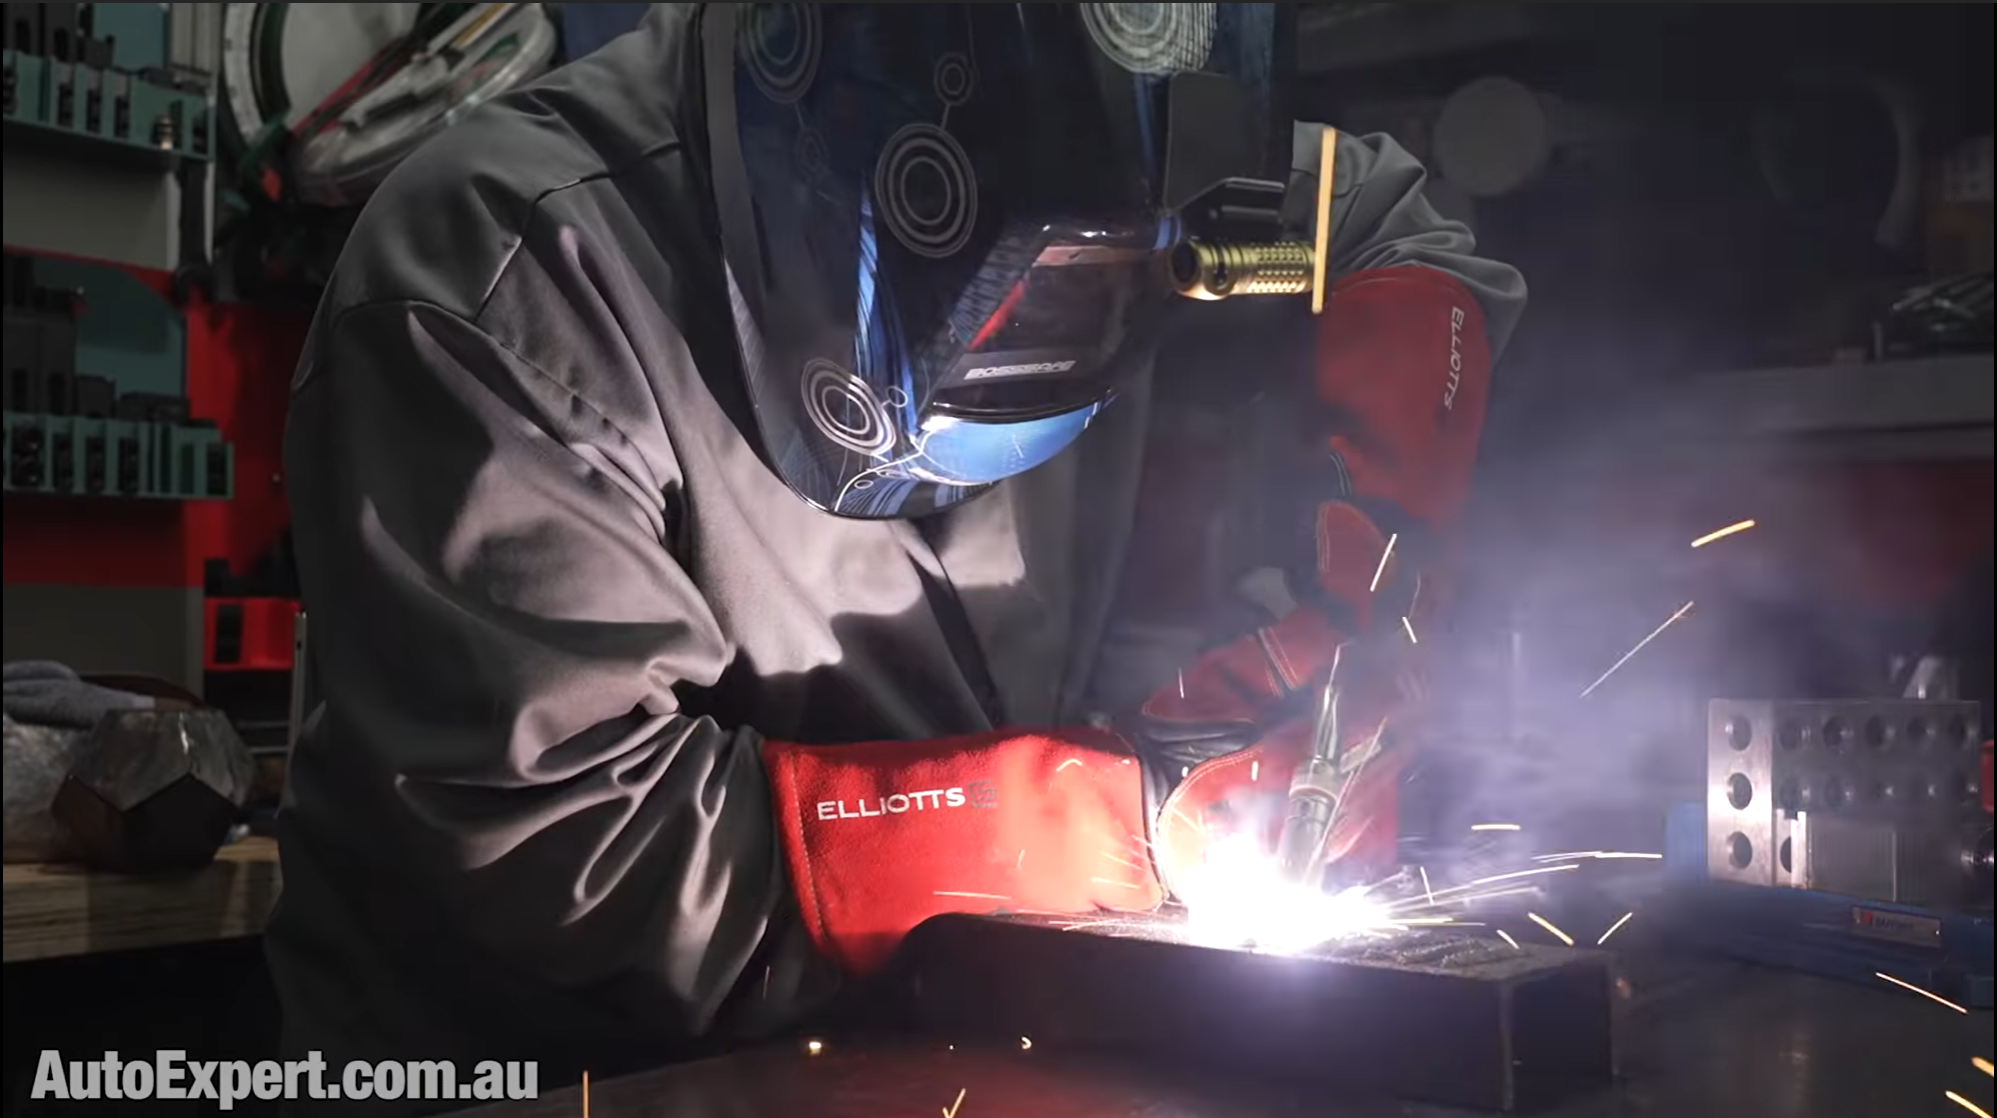
Welding, cutting, drilling & grinding >>
Making friends with heavy metalwork >>
Vehicle repairs: using a hoist to elevate a vehicle, or jacking up your car to change a tyre.
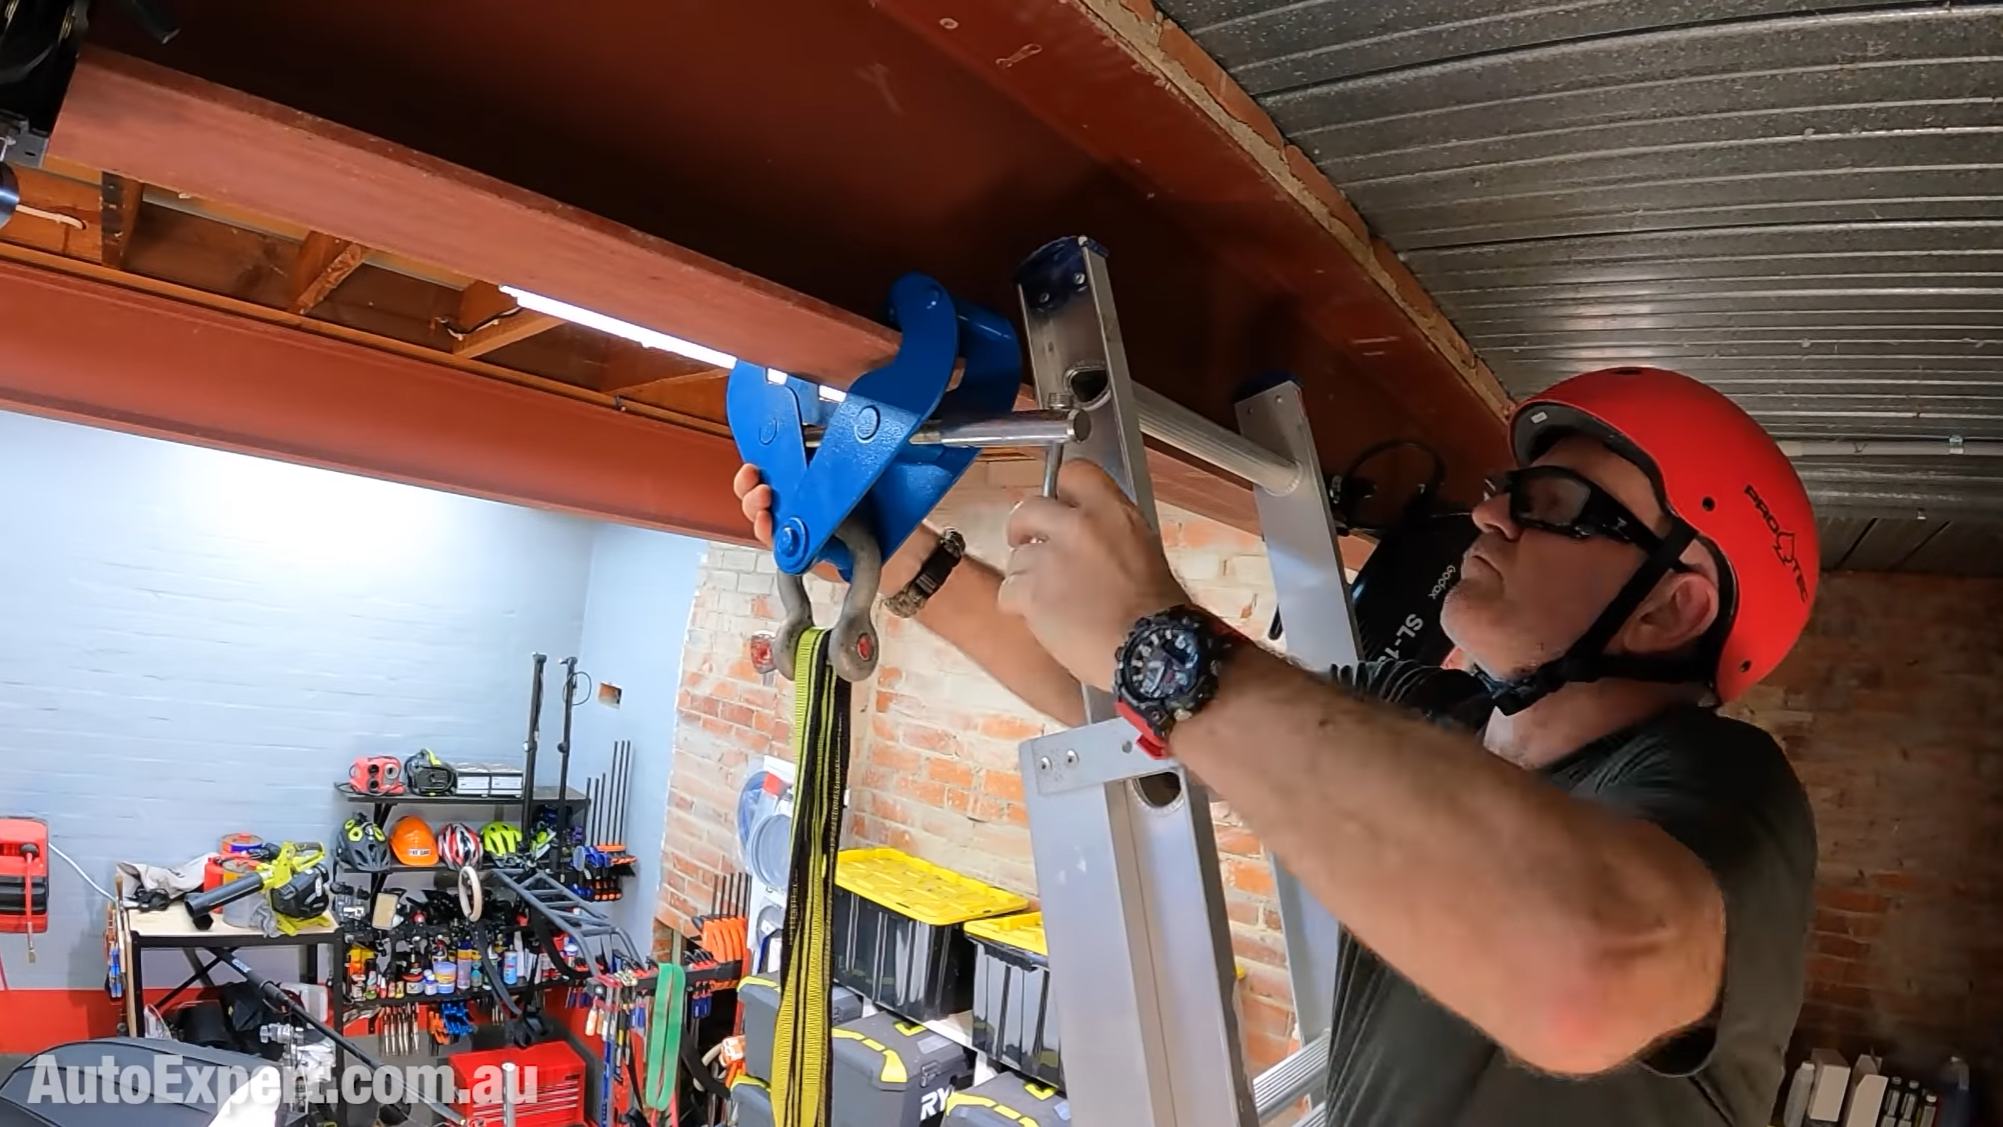
Climbing a ladder to clean out your gutters: How to use a ladder safely >>
You need to be really careful about this stuff, however menial the task or innocent the killer may seem to you.
Incidentally, you don’t have to be undergoing the full tear down to warrant this kind of preventative measure. It could be as mundane as ordinary use of a common appliance.
My AutoExpert AFFORDABLE ROADSIDE ASSISTANCE PACKAGE


If you’re sick of paying through the neck for roadside assistance I’ve teamed up with 24/7 to offer AutoExpert readers nationwide roadside assistance from just $69 annually, plus there’s NO JOINING FEE
Full details here >>
AutoExpert DISCOUNT OLIGHT TORCHES


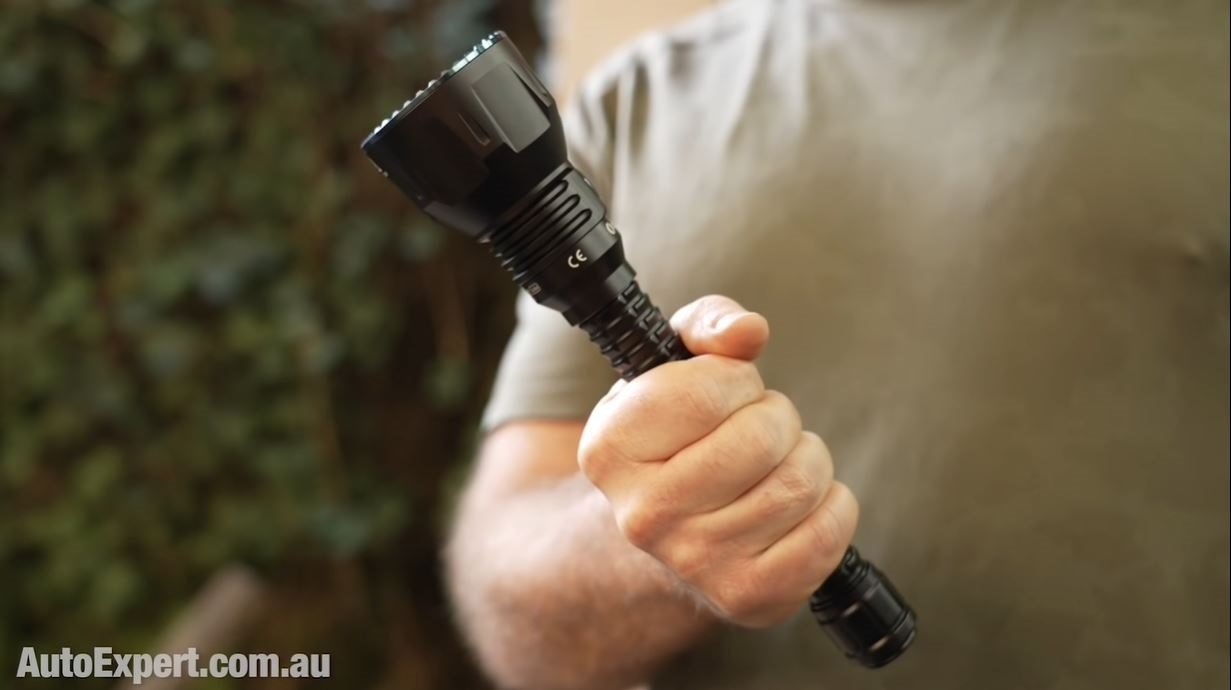


These flashlights are awesome. I carry the Olight Warrior Mini 2 every day - it’s tiny, robust, and super useful in the field or in the workshop. Olight is a terrific supporter of AutoExpert.
Use the code AEJC to get a 12% discount >>
Generators suck! Go off-grid with AutoExpert BLUETTI PORTABLE POWER STATIONS
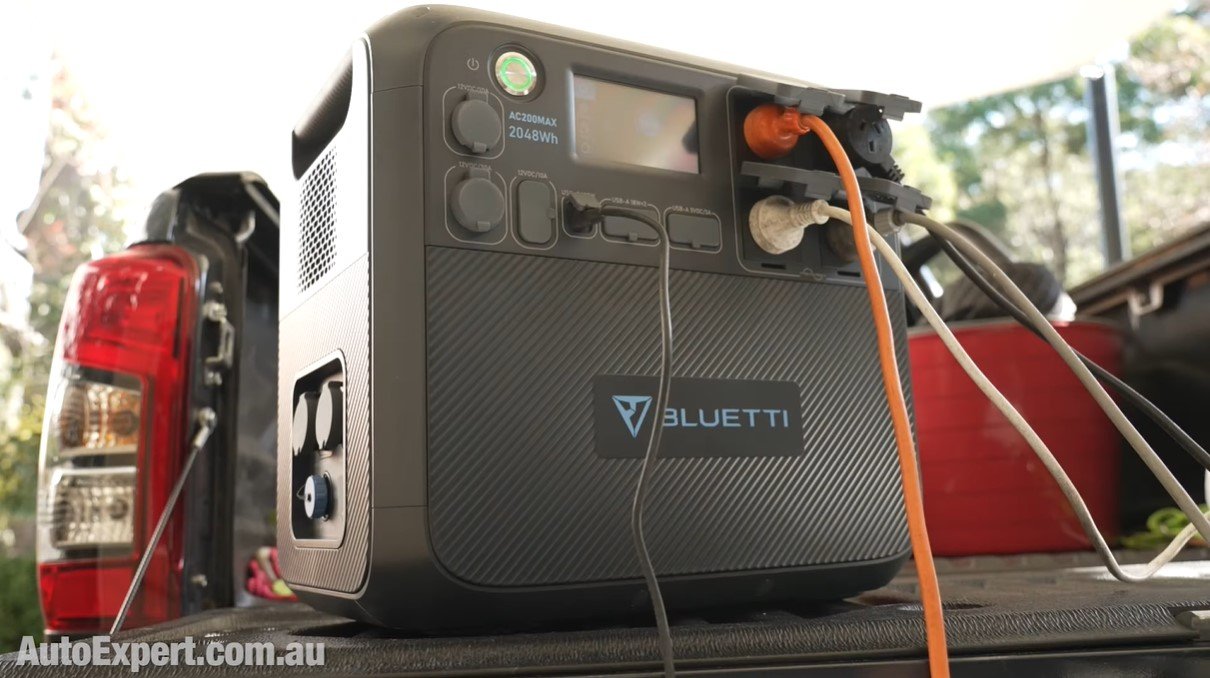
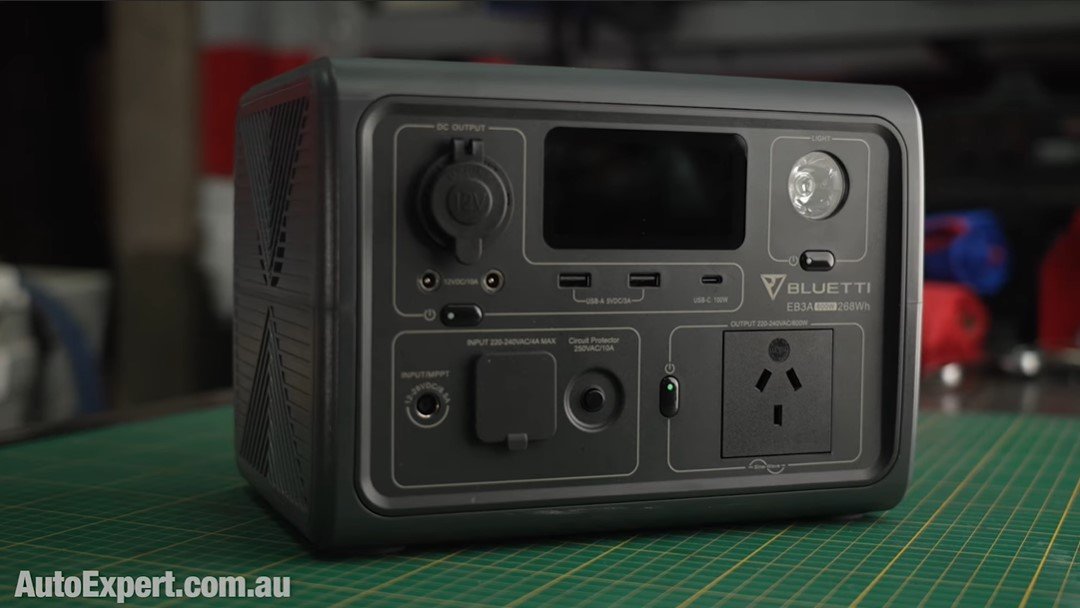

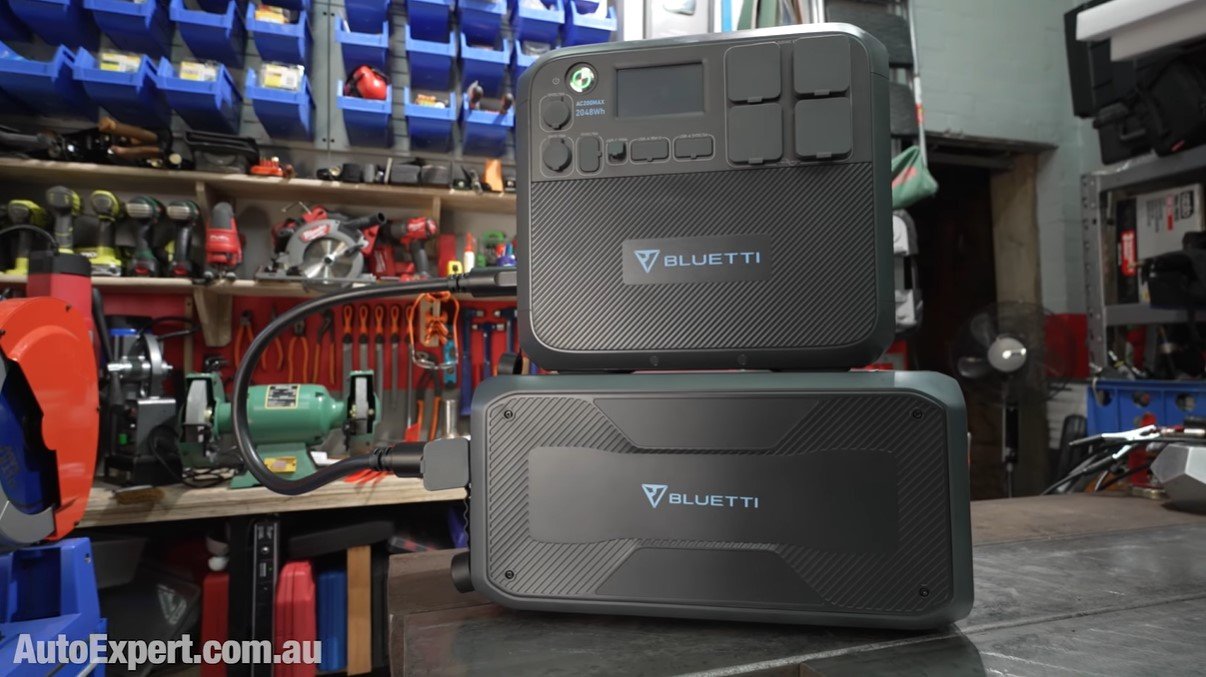
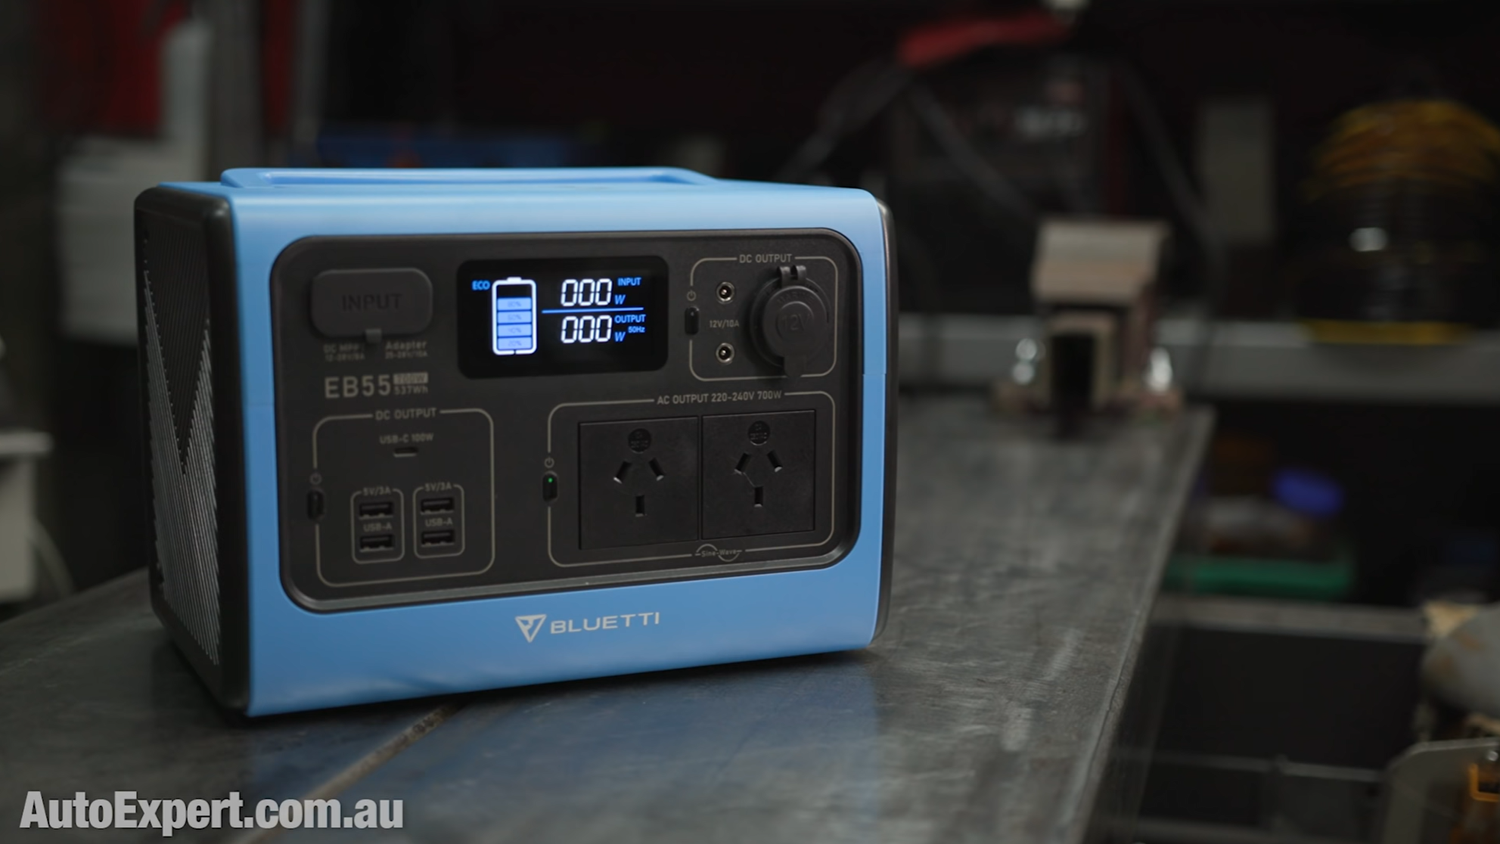

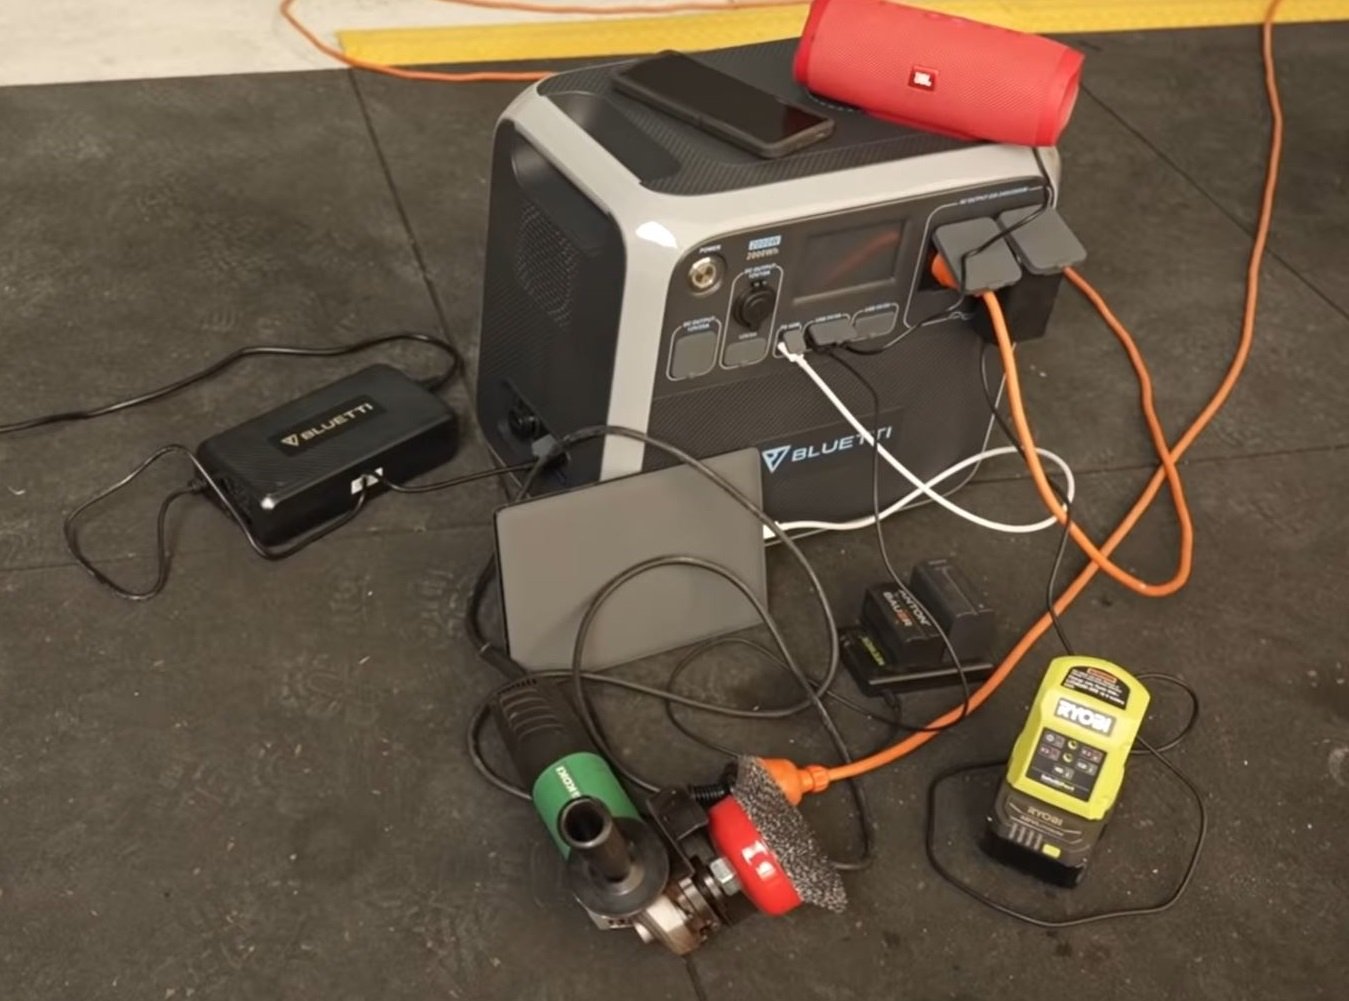

Need mobile, reliable power? If you’re camping, boating, caravanning or building a dirty big shed in the back paddock, and you need to run a refrigerator, lights, air conditioner, cooking, and/or a bunch of tools - Bluetti has a clean, tidy, robust solution…
Get your AutoExpert free shipping discount here: https://bit.ly/3n62heK
TEARDOWN TOP TIPS
Mechanical sympathy
It’s properly Jedi to understand and practice mechanical sympathy - how counter-intuitive it is in the moment. Essentially, you’re in the boxing ring with an opponent, except your opponent is a malignant, inanimate object that just wants to keep throwing challenges at you. Your job is not to get frustrated, because when you do, you reach for the big hammer - and that’s generally a mistake (not always, but generally). It's not option one.
Every time your inanimate opponent throws a some kind of left hook, you've got to just get better at countering it: slipping and bobbing and ducking and weaving and blocking. You won't realise it in the moment because of the capacity for frustration, but you are in this process of continuous software upgrade, in your brain - you’re constantly learning here. The bigger the challenge presented to you, the greater the upgrade is going to be for you at the end of solving this problem.
So instead of getting frustrated, just take a step back, philosophically, and look at it again - perhaps tomorrow, maybe after a cup of coffee, go for a walk, whatever - and tell yourself, ‘I'm not letting this beat me, I'm not going to get frustrated, I'm just going to be in charge here.’
It's like a suitable of philosophical armour that you have to put on before you grab the tools.
Use impact
Having started with mechanical sympathy, let’s now talk about impact, counter-intuitively.
Impact is your friend and it may not seem like this if you've never had your hands on the tools. It may seem like you're better off getting your wrench on some stuck fastener and just pulling gently. If it undoes, all good. If it doesn't, then you've got a problem.
Your options are just pull harder, or get a bit of pipe and put it on the wrench and use leverage to pull it even harder. After doing something like that, you're more likely to break the fastener than if you just grab your spanner and grab some sort of hammer to give it a good tap. Every fitter and machinist in the country will be nodding.
But if you’re in doubt, I'd suggest that reasonably good quality chrome vanadium wrenches are more than happy to be struck over and over in this way, and it's much less likely to break the fastener than if you just push/pull it harder and harder.
Parts management
When you start pulling something apart it's really easy to get ‘mission lock’ on. You want to get this thing apart and quickly you can forget about managing the parts.
Managing the parts is really important if you want to get whatever back together again.
Two things here: always try to slow down just a little bit and pause your overarching objective of pulling something apart to to its component atoms, and think about how you’re going to manage the parts.
The obvious thing you can do is get get a magnetic parts tray, which sticks virtually anywhere there’s steel, and your parts will wait patiently until you need them again. It saves them getting knocked over, rolling down your driveway and down into the fricken storm water drain.
You can also lay out a big grid of tape or pencil lines on a table with numbered squares which you place each part in, as it is removed. Then just reverse the order they go back on when it’s time to reassemble.
Photography
Technology really is your friend and here I'm talking about photographs.
Everyone has a high definition camera in their pocket. This is so useful because you get to a point disassembling stuff where, if you're thinking about it the right way, you're going to envision how that item is going to go back together.
One of the easiest ways to overcome the many problems of reassembly is to take photographs of it during disassembly. Anytime you think that a certain step, or an intricate series of parts, or even a peculiar mechanism might be a problem to figure out later on when you're reassembling, just take pictures are you go. You can even make duplicates and use the copy to scrawl notes on to refer to. It's so simple and only takes a few seconds, maybe 30 seconds, or even a whole minute.
The camera is in your pocket, so what excuse do you possibly have?
You could also leave what’s called ‘witness marks’ using a tungsten carbide tipped scriber or a spring-loaded center punch. Just put a couple or series of little pops or dents in certain items, so you can line them up later.
Lubrication
WD-40 is your friend. It’s mostly a solvent, which is really good at penetrating but it's also good at removing varnish and baked on residue etc. Soaking those stubborn bits that are reluctant to come apart in WD makes it much easier to prepare them for reassembly.
If you don't particularly like WD, I can also thoroughly recommend Inox MX4 Lanolin, AKA Lanox. You can get this in a pressure pack as well. It's pretty good; I tend to use the spray pack one for reassembly, whereas I think the WD's got better solvent action for disassembly and preparation for reassembly. But when you're getting it back together, I'd rate Lanox over the WD purely because I think it's more lubricant and less solvent.
Do not use brake cleaner, because of the chlorinated chemicals in it which are seriously nasty stuff to get on your or breathe in - emphatically so if you plan to weld the item later, because it could straight-up kill you. If you must know, because: Don’t Die - then it’s because the chlorinated chemicals in brake cleaner decompose exothermically to form phosgene gas, which is a toxic, deadly poison in very small concentrations and I don't think there's a cure.Threads
Some fasteners are left-handed threads and some are right-handed threads. Which ones are they? That's the question.
The general rule of thumb here is that if you're looking at the rotating part, you're looking down on the head of the fastener, it undoes in the direction that it rotates. So whichever direction the machine spins in, that's the sense of rotation, generally, that will get the fastener undone. Example: my linisher rotates counterclockwise when you look down on the top of the fastener, and that means counterclockwise is the direction that the fastener is going to undo. It's a right-hand thread.
Hammertime
The most fundamental tool in all of human history is the hammer. Most people start off with some sort of variation of framing hammer, and framing hammers have their place: driving nails into wood.
If you want to go further into this land of mechanical adventure, then I'd suggest you also need a decent ball peen hammer as your number two. It’s extremely good for hitting centre punches etc., but not very good for disassembly generally, because they are case hardened. Meaning: anytime you hit anything that you're disassembling, you're risking breaking it or at the very least marring the surface.
Next thing you're going to want is a soft-faced hammer. They come in a few different kinds, but cheap ones are actually really good. They're a dead blow design, so they don't bounce so much because they're full of lead shot, so they just hit without bouncing. This is a really nice positive way to get off some part that's held down by a gasket (that's been in place for 25 years or something). It can be a part that’s really baked on and you need to persuade it without fracturing it.
Soft-faced hammers are, in a sense, a more deliberate but less sharp impact; it's just better at transferring momentum.
Pro Tip: man can never have too many hammers.Compressed air
You don't need a massive compressor in your home shed, but even a little compressor is so useful.
The first accessory I would get after a tyre reinflation kit is an air gun with a little tiny flexible hose which is so useful for getting the grit out of threaded holes, machined surfaces and drying off something that you've just washed off in degreaser. The little flexible hose makes the whole setup much more manoeuvrable than the big thick hose that comes out of the compressor normally.
Safety stop: anytime you use compressed air, make sure you wear safety specs because there's nothing compressed air enjoys more than to put you to hospital by blowing some abrasive, metallic or corrosive filth (or even plain old dirt) back in your face by reflecting it off the surfaces of the parts that you've just cleaned or tried to blow dry.
I also suggest you just want to regulate the air to about three atmospheres, so about 40-45 PSI.
Specialty tools
In many cases you can get away without the specialty tools. But if you need them, buy them; but certainly don't buy the best German ones that money can buy unless there's either no other option and/or because you're thinking about getting into this kind of work regularly/permanently.
There’s no shortage of tools that you can buy for bespoke operations, and if you're going to be doing that all the time, that’s awesome. Just remember to ask yourself before buying them, ‘Why do I need a specialty tool? Can I find a hack?’
Handling small parts
The anatomy of these kinds of disassembly and rebuilding assignments is this: the most common part that fails is the smallest, cheapest part, and it’s usually down in the heart of the machine. Often, little parts simply need you to clean things up and to put them back in.
Small parts are a problem and it's often a five cent part that has the capacity to halt your whole reassembly and it's always 8pm at night when Bunnings is closed because it’s a Sunday night. So you might consider, as I did, biting the bullet and buying a reasonably comprehensive inventory of small parts. You can buy them easily off the rack, you don't have to go in search of so much, and they can sit there patiently until you need them.
A selection of the small parts might include: washers, nylock nuts, rubber O-rings, socket head cap screws, assorted hose clamps, roll pins, zinc plated keystock.
Having small parts like these just mean you don't have to drop everything, wash up and get in the car and try and find an engineering supply place that's open at 7 pm on a Sunday night, because you know Bunnings won't carry it.
Go forth
It's really satisfying to pull something apart but it’s even more gratifying to get it back together - and functioning again.
I wanted to give you some points to consider about doing this stuff in 2023 so you can make your disassembly/ tear down game a bit stronger.
It doesn't matter what the job is, it doesn't matter if it's a bearing on a trailer or your bench grinder or the lawn mower, you can get it apart and if you only get a few little tips out of here that better align your skills with the objective of reassembly and functionality, then dude my work here is done.
Just remember: Don’t die and disarm the bomb.


The Kia EV3 is the brand’s entry-level fully electric model and when you take into account its price and the level of equipment, the astounding build quality and segment-leading refinement it offers compelling value. If you want affordable luxury with the daily dependability of an EV, you might be on a winner here…