
Fast Flat Tyre Repair Using a Plug Kit
HOW TO REPAIR A FLAT TIRE USING A PLUG KIT
Here’s how to repair a flat tire – without even removing it from the car. What we’re going to do is insert a special temporary adhesive repair tire plug in the puncture site, make sure it seals, then pump it back up and drive off into the sunset. Simple.
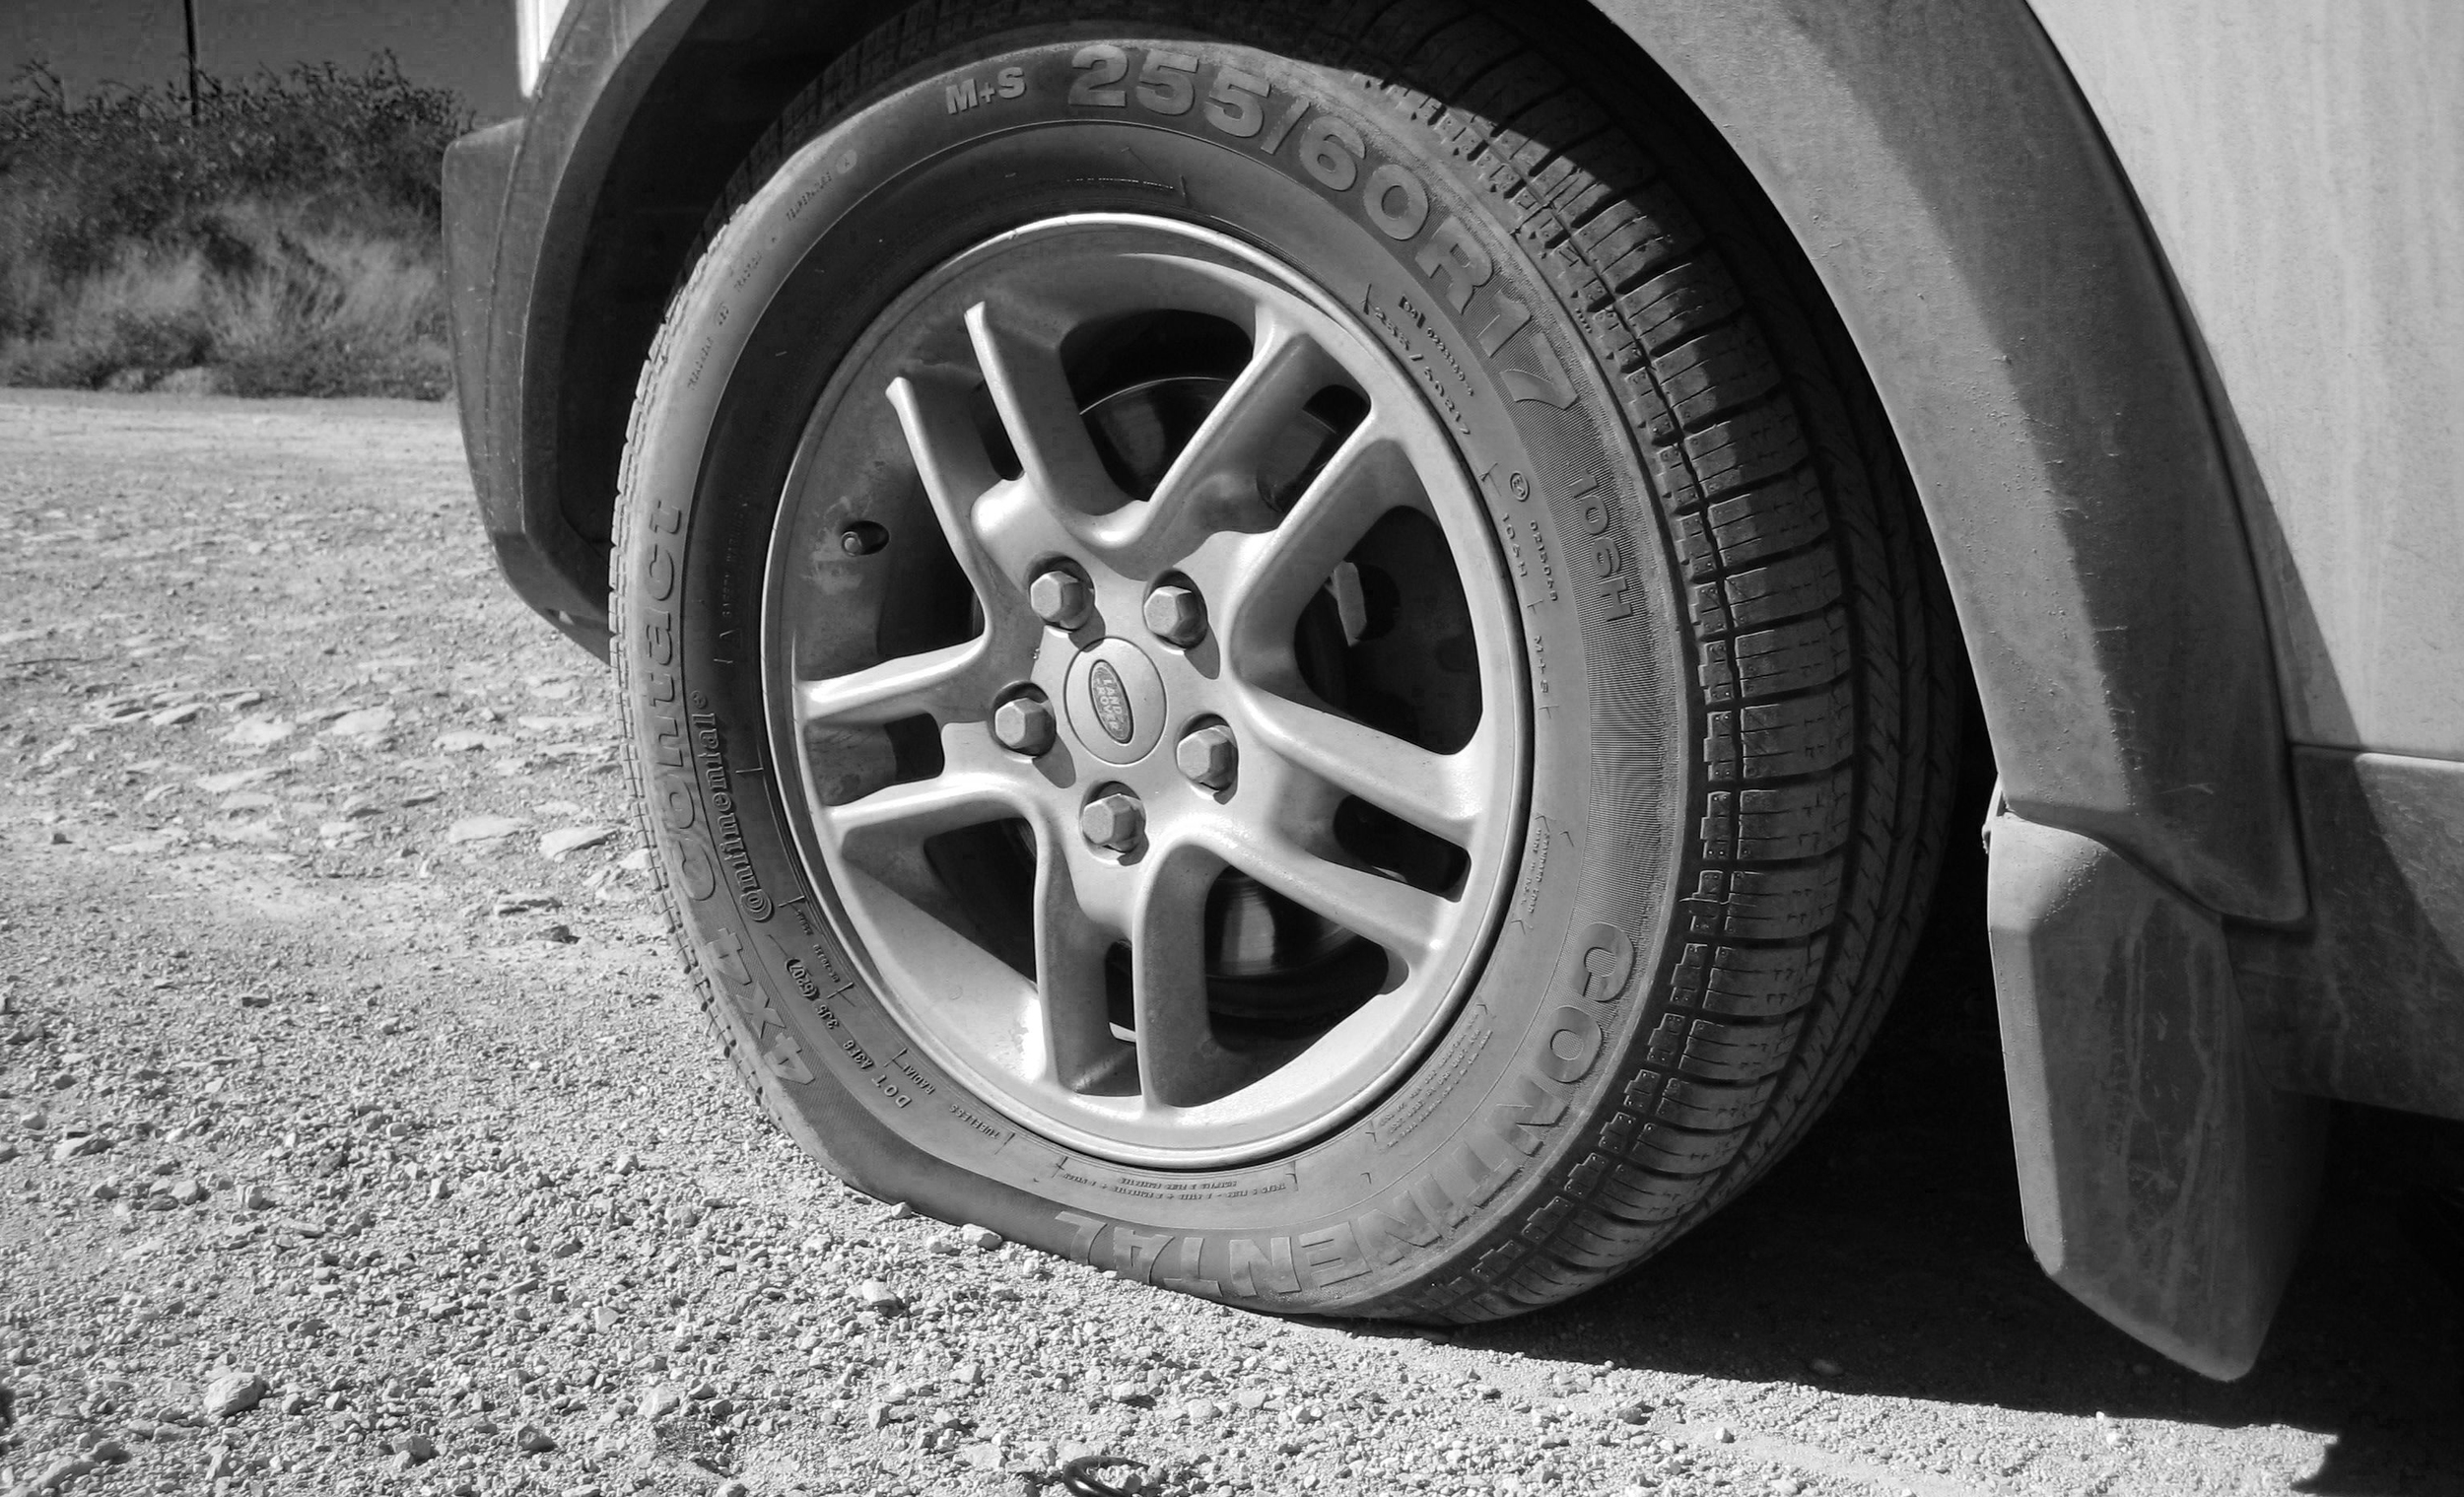
A tyre plug repair kit will take you from this...to this: airtight, holding pressure and driving away, all within 15 minutes and without having to take the wheel off the vehicle
In this example, the tyre is off the car. That just makes the process easier and clearer to film. But there’s no problem with doing it with the tyre on the car – you can usually be up and driving again in a matter of minutes. It’s a slightly more cramped working environment with the tyre on the vehicle, but it saves you breaking out the jack and the wheelbase.
This is a real advantage if you’re on a touring holiday – especially if you’re in a remote area. You can fix the tyre on the spot, and then drive off to get it professionally assessed at the next township with tyre repair facilities. It’s a real godsend if you get a flat tyre, change to the spare, and then get a second puncture. (This ‘second tyre goes flat’ scenario is unlikely in the city, but the risk increases as you travel loonger distances in more remote areas on the spare – especially if driving on dirt roads.) ‘Best practice’ advice for Outback or remote-area driving is to carry a second spare tyre. But a plug kit is also a real advantage if you're only going away on holidays - there's no need to unpack the entire car just to access the spare tyre.
There are, however, a few caveats for this type of repair.
- A tyre plug kit isn’t a substitute for a viable spare tyre. This is because not all punctures are repairable – blowouts caused by gradual leaks and internal friction usually destroy the tyre, or rip a massive hole in the sidewall. You need a proper spare.
- Tyre plugs are for tread-face repairs only. Holes in the sidewall aren’t generally repairable like this.
- This kind of repair is considered a temporary repair only. Use it to get going again, but get the tyre fixed properly – via an internal patch or tube – at the next opportunity after the fix.
- If you are repairing a tyre on the vehicle, make sure the vehicle is in a safe position. In particular, make sure you are insulated from the dangers posed by passing traffic. If necessary, drive a short distance at low speed (walking pace) to a safer location that is insulated from traffic. Use a warning triangle or similar to alert other motorists to your presence.
You will need two things: a tyre plug kit and a 12-volt compressor. (The latter is essential because a repaired tyre is not much use to you on the vehicle if it’s still flat. You could, theoretically, use a manual tyre pump as well, but you might as well let electricity do the work. An accurate tyre gauge is an asset, too.
Here are the basic components of a tyre plug repair kit.
Tyre reamer (above) ensures the hole is at least the minimum required size to accept the plugSplit needle too (above) is used to insert the plug. The sliding collar retains the plug while the needle is withdrawn.Self-adhesive plugs (above)Special lube (above) is essential for getting the plug into place
STEP 1
After choosing a safe location to do the work, make sure the vehicle won’t roll anywhere apply the handbrake, put the vehicle in gear or ‘P’ and chock the wheels before getting near the wheel arch for a look. You do not want the vehicle rolling while you are perched inside the wheel arch.
STEP 2
Locate the puncture (not too hard here, seeing as I just belted this nail into the tyre using a hammer, as a demo). Sometimes it’s harder in the real world. You might need to roll the car forward or back a small distance to get a good look at the entire tread circumference. If there’s no obvious offending article, check the inner sidewall for damage. If that doesn’t work, pump the tyre up a little using your compressor, and listen for the leak. And it THAT doesn’t work, remove the tyre and fit the spare. Search for the leak later by pumping up and submerging the tyre in water (look for the stream of bubbles escaping at the puncture site).
The site of the damage is often harder to identify than this (above)
NOTE
If the puncture is on a front tyre, roll the vehicle and turn the steering to improve access. If it’s on a rear tyre, your best shot is usually rolling the vehicle and lying on the ground to the rear. (Note earlier caveats about securing the vehicle so it doesn’t roll on you – handbrake applied, transmission in gear or ‘P’, wheels chocked.)
STEP 3
Remove the offending item. Use pliers, because it’s probably going to be wedged in there pretty tight. A Leatherman, like the one pictured is ideal (I’d give a big tick to the Leatherman Surge here, a personal favourite – more of an asset than an unwilling apprentice every day of the week) for a range of on-the-spot automotive jobs like this.
Leatherman (above) is a 'second set of hands' kind of tool just made to help out in these situations
NOTE
If you find a nail, screw, etc, jammed in a tyre and it’s airtight (ie the tyre is not leaking), don’t repair it on the spot. Whip into the next town and get it fixed there. Keep your eye on the tyre to make sure it’s no leaking slowly. Slow leaks lead to excessive sidewall flex, and that generates enough heat to destroy the structural integrity of the sidewall – which is the major cause of blowouts.
STEP 4
Ream the hole to the minimum required size for the plug, using the reamer that comes with the kit. Three or four strokes backwards and forwards are all that’s necessary. Be careful on the back-strokes because it’s easy for the tool to let go and jam your knuckles into the wheel arch, if you’re doing this in situ.
Reamer in place (above). Several in-out strokes, or even drilling-type action movements will condition the hole adequately for the plug
NOTE
If the hole is bigger than the reamer it can often still be successfully patched. You might need to use more than one adhesive plug to get the job done, however. (See steps 5-6-7 below, which you’d simply repeat in that case.)
STEP 5
Uncover one of the plugs, which are pretty sticky. Get it folded in half over the split needle in the toolkit.
Getting the plugs out of the paper can be fiddly (the adhesive is quite effective...)
STEP 6
Lubricate, using the special lube that comes with the kit – otherwise you’ll never get it in there. Whip a little lube on the needle before inserting the plug in the eye (this step is just like threading a normal needle ... only this time the cotton is really thick, short and sticky). Then pull the plug through so the mid-point of the plug sits in the needle as shown, and smear a little more lube around to help ease the plug into the reamed hole. Significant pressure might be required to get the plug in the hole (it was here, because the reamer carves out a minimum-sized aperture in the tyre). You need to apply pressure with control because you really don't want to snap off the needle.
Don't spare the lube - otherwise you'll never get the plug in placeInserting the plug starts here. Significant pressure is sometimes required to get the plug started.The bottom of the sliding collar prevents you from pushing the plug in too deep
STEP 7
Remove the needle. Downward pressure on the sliding collar is required in concert with an upward pull on the needle to remove the tool. Remember to apply load only in the ‘straight out’ direction. You do not want to break off the needle.
Press down on the sliding collar and pull up smoothly on the needle. Much less force is required to withdraw the needleWith the needle withdrawn, the plugged hole looks like this
STEP 8
That’s basically the job done. All you need to do now is pump up the tyre. Because I’m doing this in the workshop at home, I’ll be using a mains-powered compressor. If you’re in the field using a 12-volt compressor driven off the vehicle's electrical system, run the engine while re-inflating. This will ensure that the use of the compressor doesn’t drain the battery to a level below that required to re-start the vehicle. (If that happens, you’ll just be exchanging one mobility problem for another, harder-to-solve, one.)
Re-inflate the tyre. It's easier to use the workshop compressor at home, but remember you'll need to carry a 12-volt compressor for roadside repairs
STEP 9
With the 12-volt compressor attached you can then trim the ends off the plug so they’re flush with the tread face. Often people don’t bother with this, because the road will quickly abrade the repair to the point that it is flush with the tread surface. Trimming the ends can’t hurt and takes very little time or effort. Up to you.
Many people choose not to trim the repair, letting abrasion with the bitumen do this part of the job for them.
NOTE
After re-inflating the tyre, check it regularly for leakage. Me? I’d be waiting around for about 30 minutes, maybe infuse some caffeine, and check the pressure again just before driving off – and confirming that it’s exactly the same before driving off as it was when you had just re-inflated it. Then check the pressure regularly over the next several hours.
Monitor the tyre for leakage until you're satisfied the repair is maintaining pressure.
Finally, don’t forget that what you just did was a temporary repair – however well the job was done it’s a great idea to get the tyre off the rim and assessed internally for damage, as well as more professionally and permanently repaired.